LP Guide
In this LP Guide part, we will walk you through 2 main features: Provide Liquidity and remove Liquidity.
Note: In the current version, using a smart contract to remove liquidity is not supported on the frontend UI. Unless you are an expert, PLEASE DON’T USE smart contract wallet to provide liquidity. For expert, please refer to this section.
Provide Liquidity
Let’s say, you want to supply liquidity for USDT on BNB Chain to earn transaction fees and farming rewards. The steps are simple.
1. First, click the “+” button on the liquidity pool of your interest. Switch your wallet to the network you want to provide liquidity for.

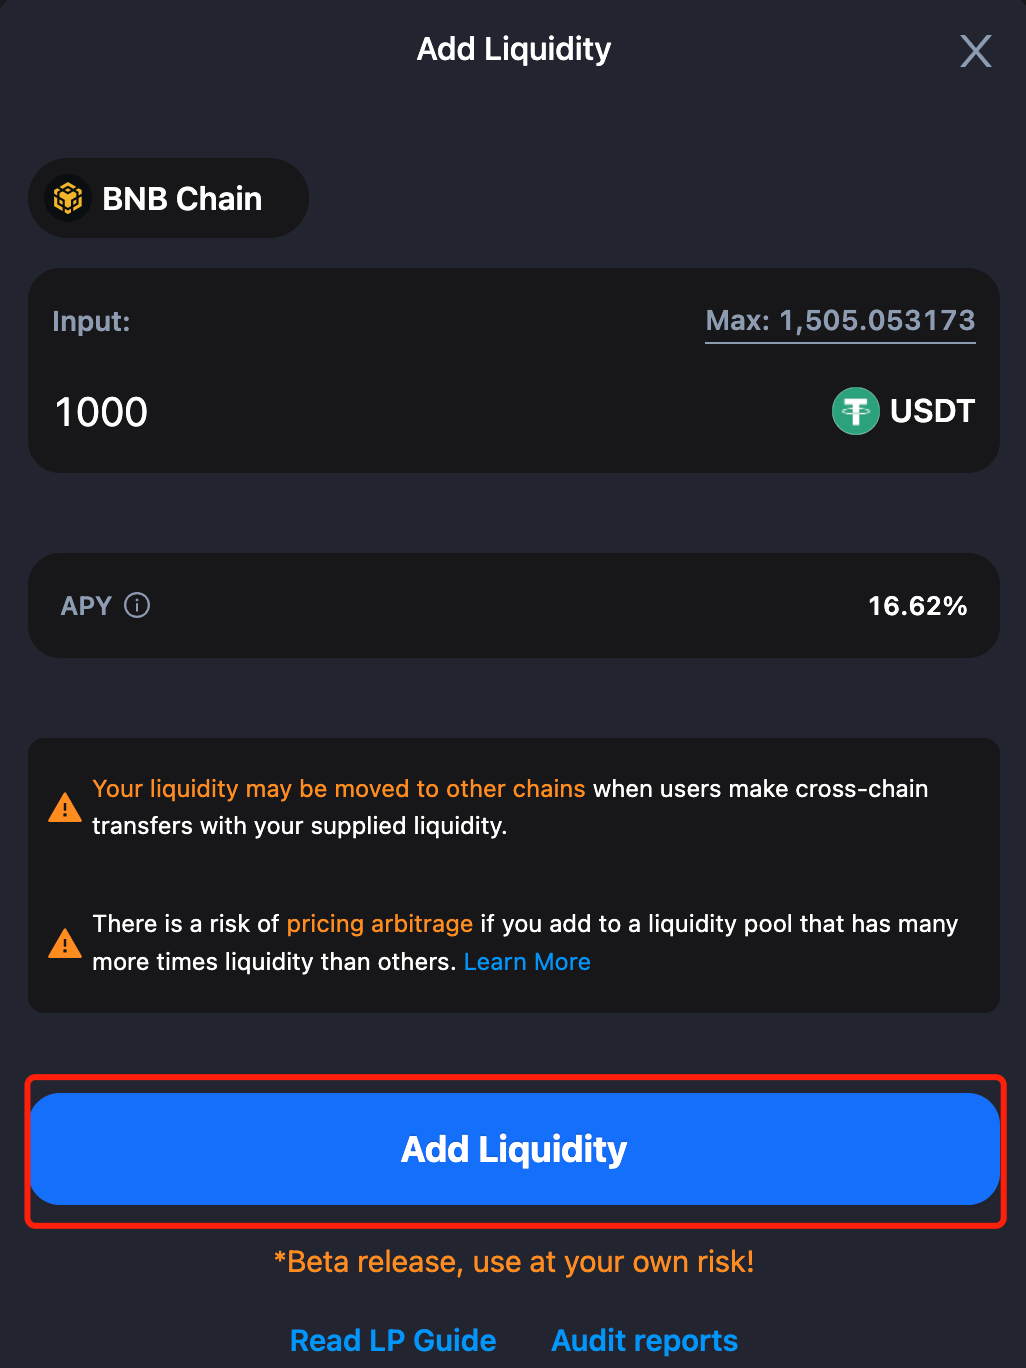
2. On the popup prompted, enter the amount you want to supply to the pool. Click “Add Liquidity”.
Note that your liquidity may be moved to other chains as users make cross-chain transfers with your supplied liquidity. There might also be Impermanent Loss if there is a significant liquidity imbalance between chains. We always recommend adding liquidity to balance out multiple pools while you earn fees and rewards.
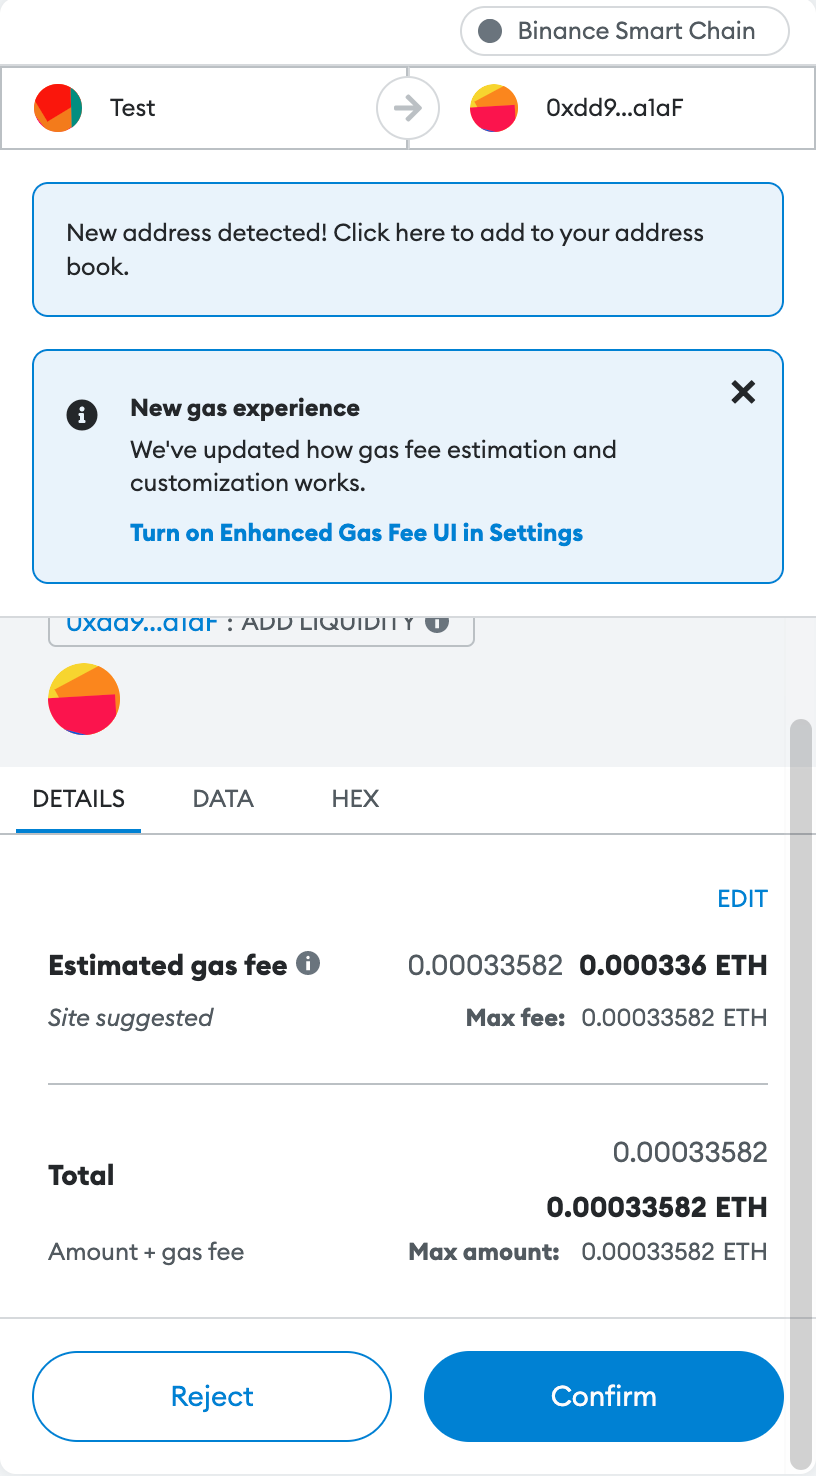
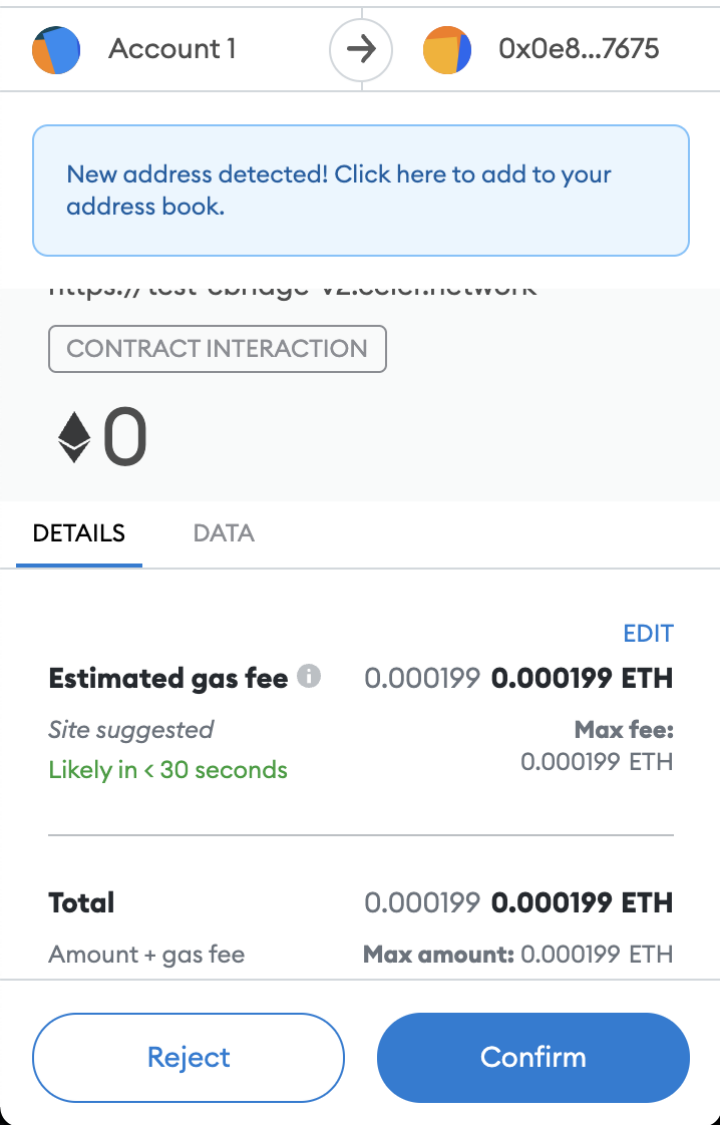
3. You will then be prompted to confirm the transaction on MetaMask. Click “Confirm”.
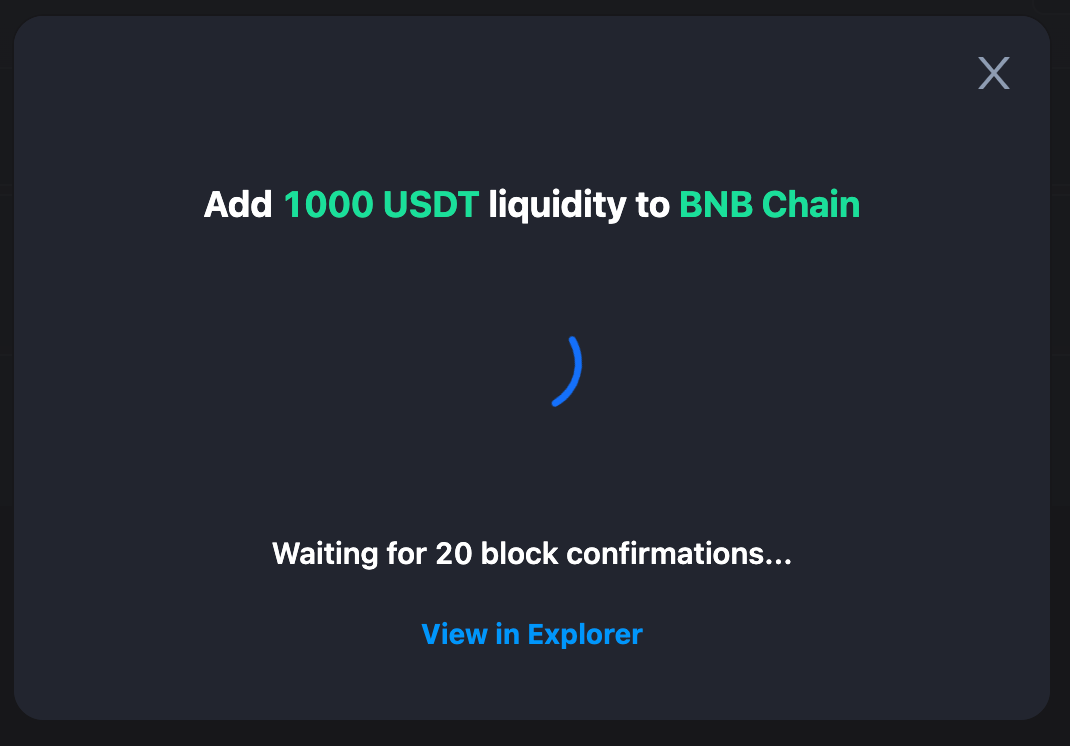
4. After confirming on MetaMask, the transaction status will update on cBridge and show you the progress of the transaction. The transaction will first be validated on the blockchain, and then by the Celer SGN (State Guardian Network).
5. While the transaction is being confirmed, you can close the popup. You can check the transaction status in “Pending” on the top right corner of the page.

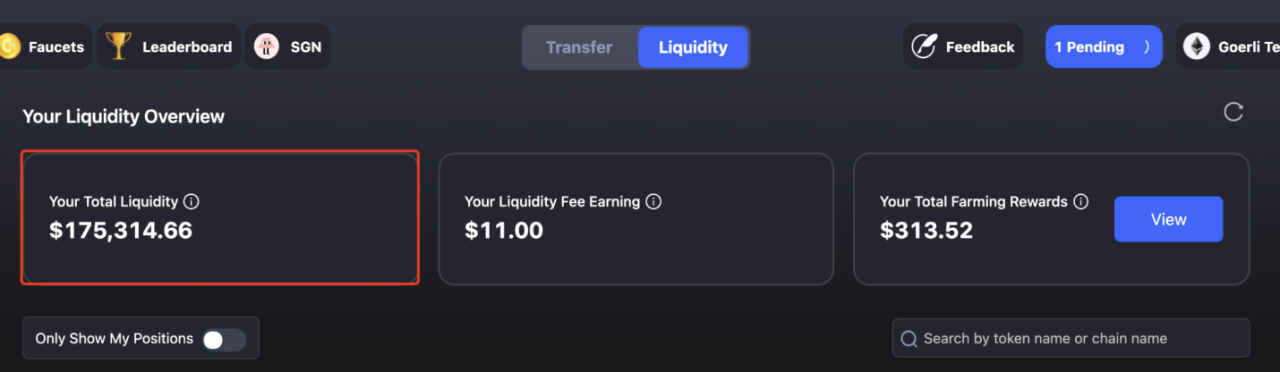
6. When the transaction is complete, you can check your liquidity summary, positions, earnings and rewards in “Your Liquidity Overview”.
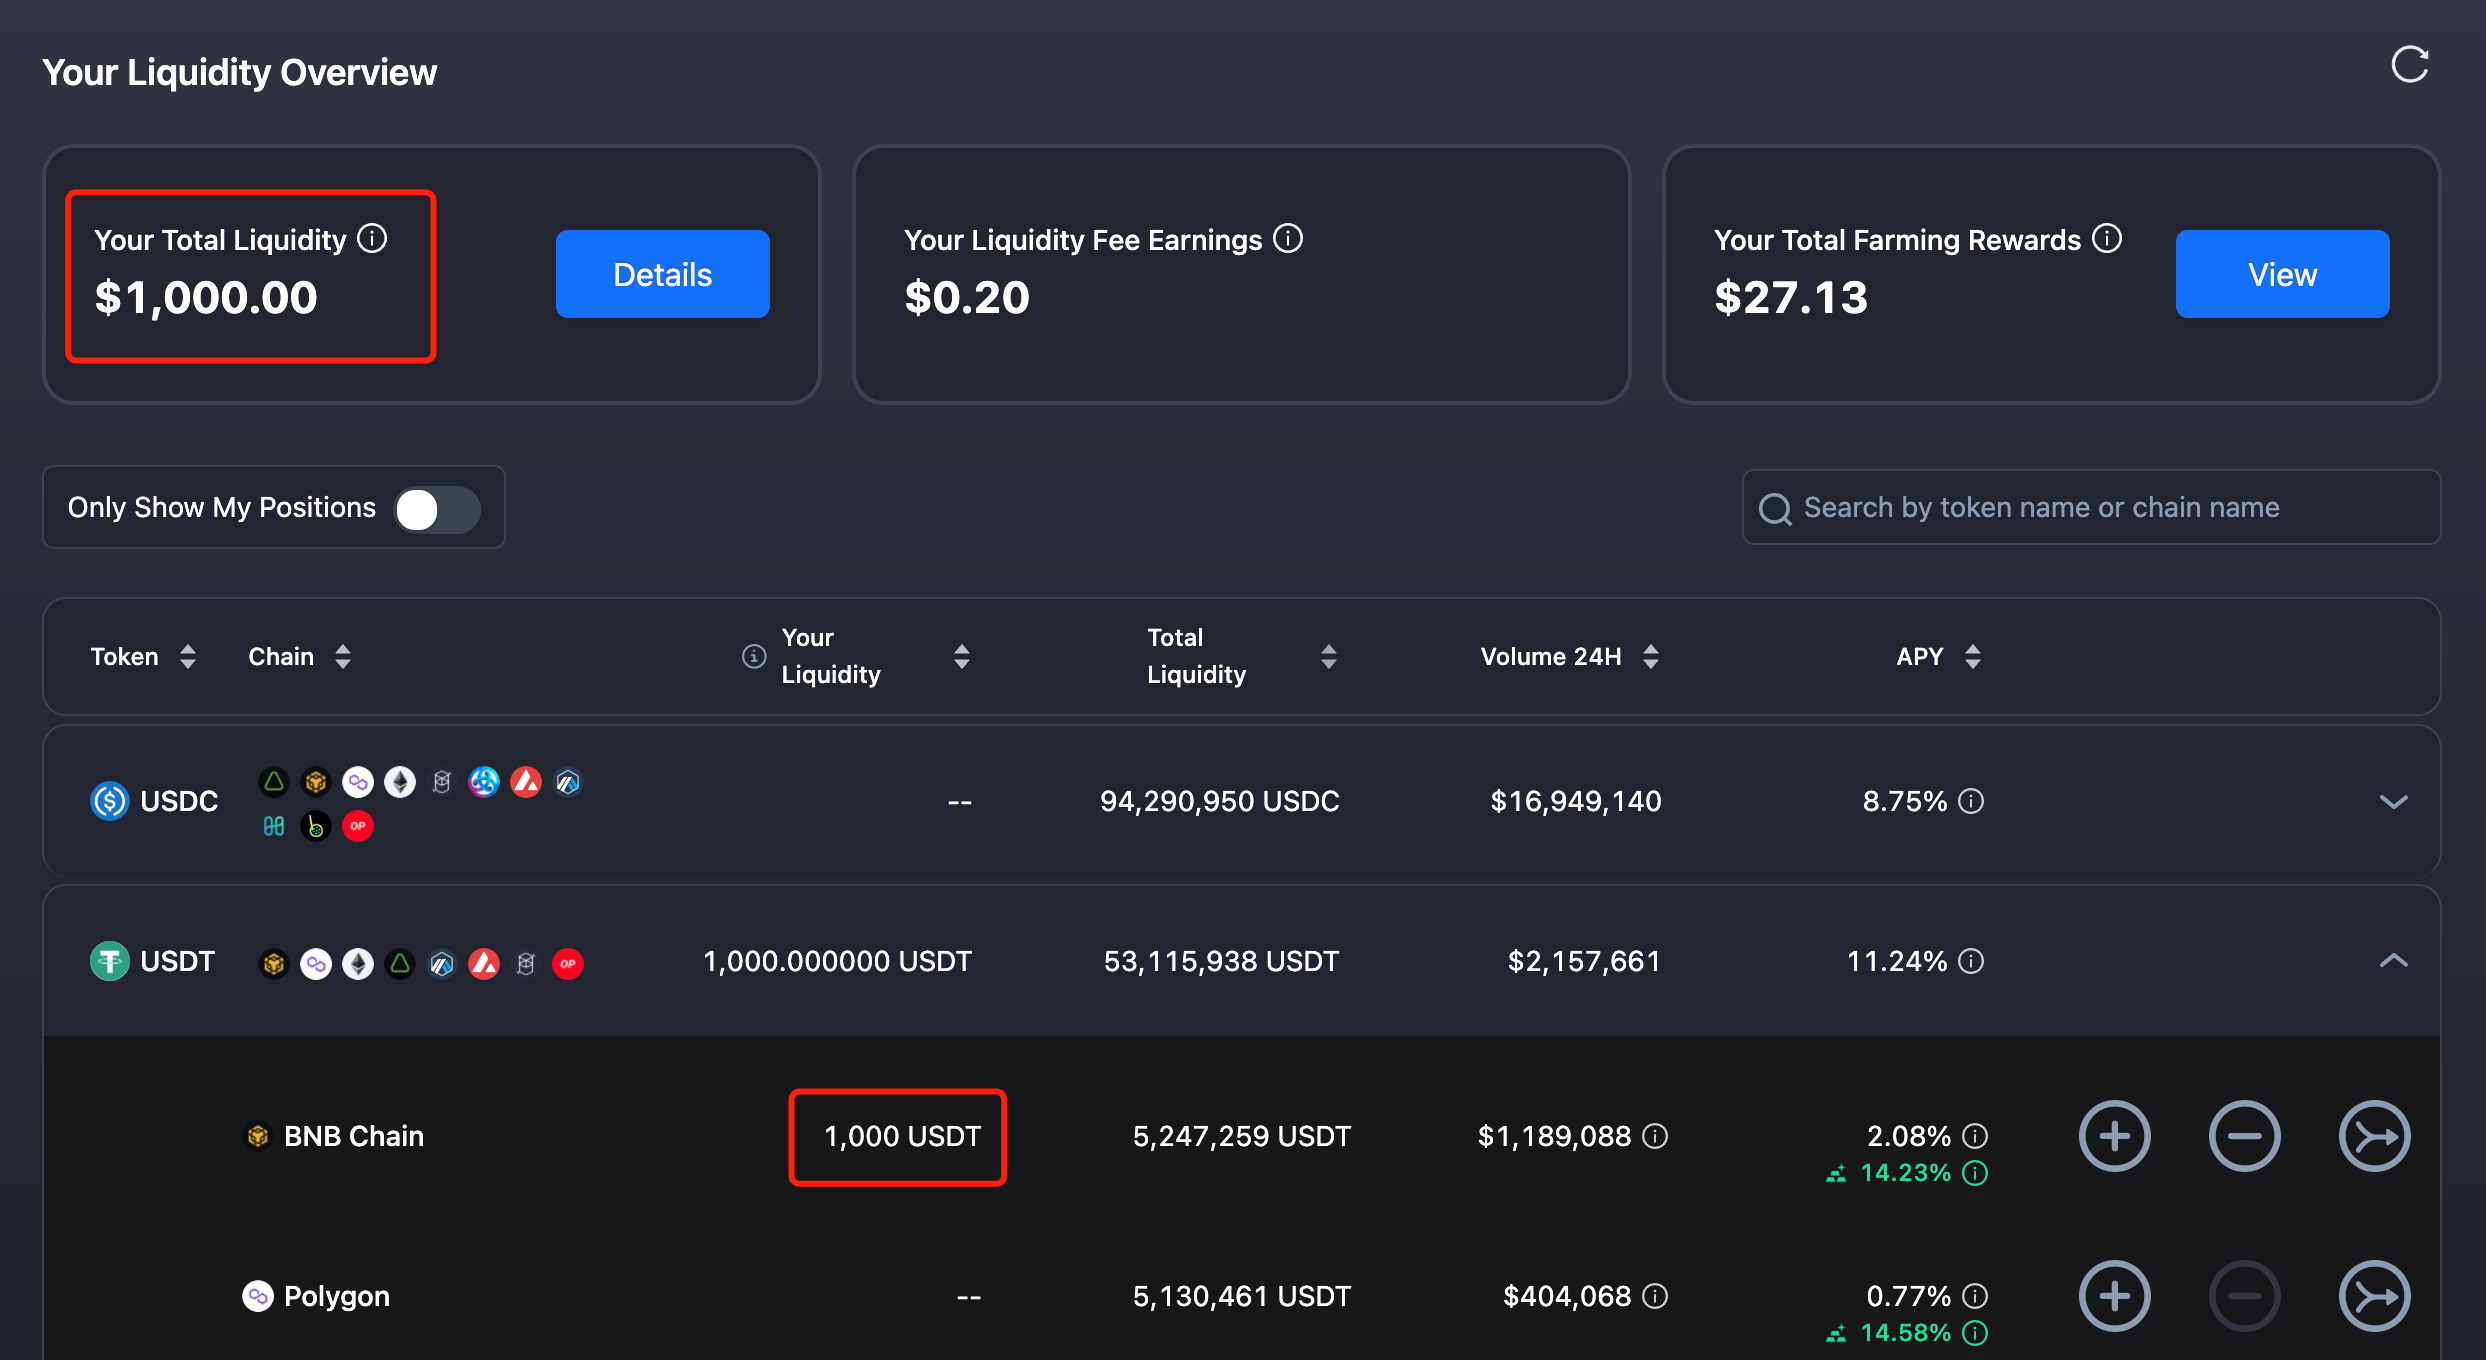
Earn Transaction Fees & Farming Rewards
Note: Screenshots used in this tutorial are from cBridge testnet.
Supplying liquidity in cBridge comes with the benefits of liquidity fee earnings and farming rewards.
When you supply liquidity, you earn a percentage of the transaction fees from people who use your liquidity to bridge funds across chains, and your liquidity fee earnings are automatically added to your total liquidity.
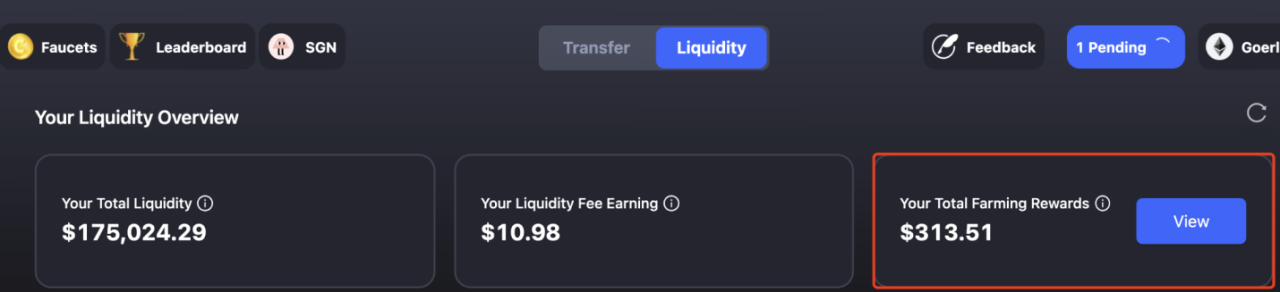
Some liquidity pools may have active farming sessions, where you gain additional farming rewards in CELR along with your liquidity fee earnings. Farming rewards need to be claimed manually.
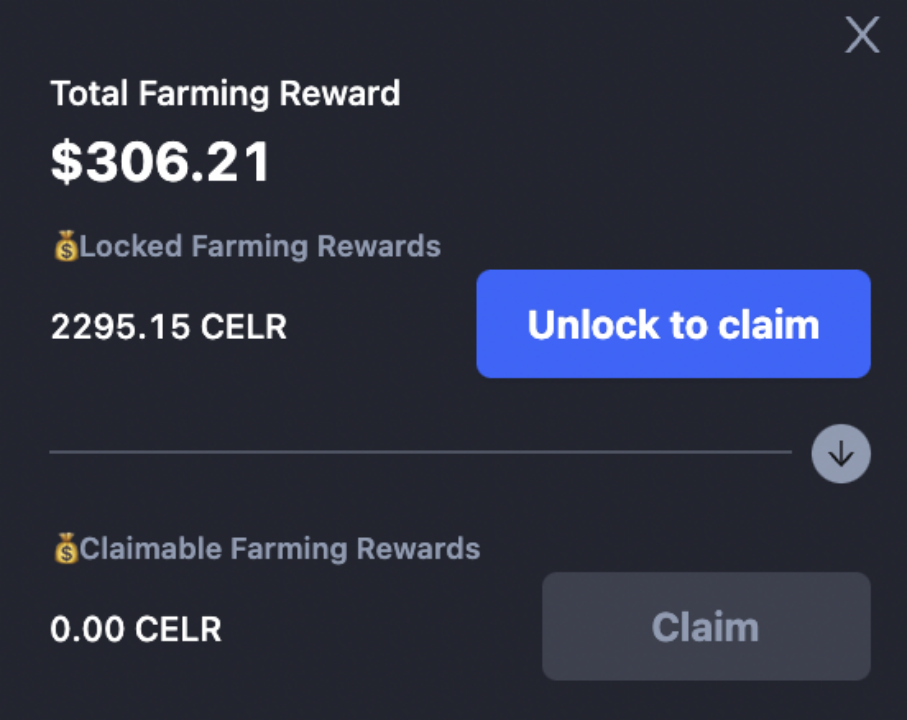
1. To claim farming rewards, click “View”, and then “Unlock to claim”.
2. You will then see a popup showing the unlocking progress.
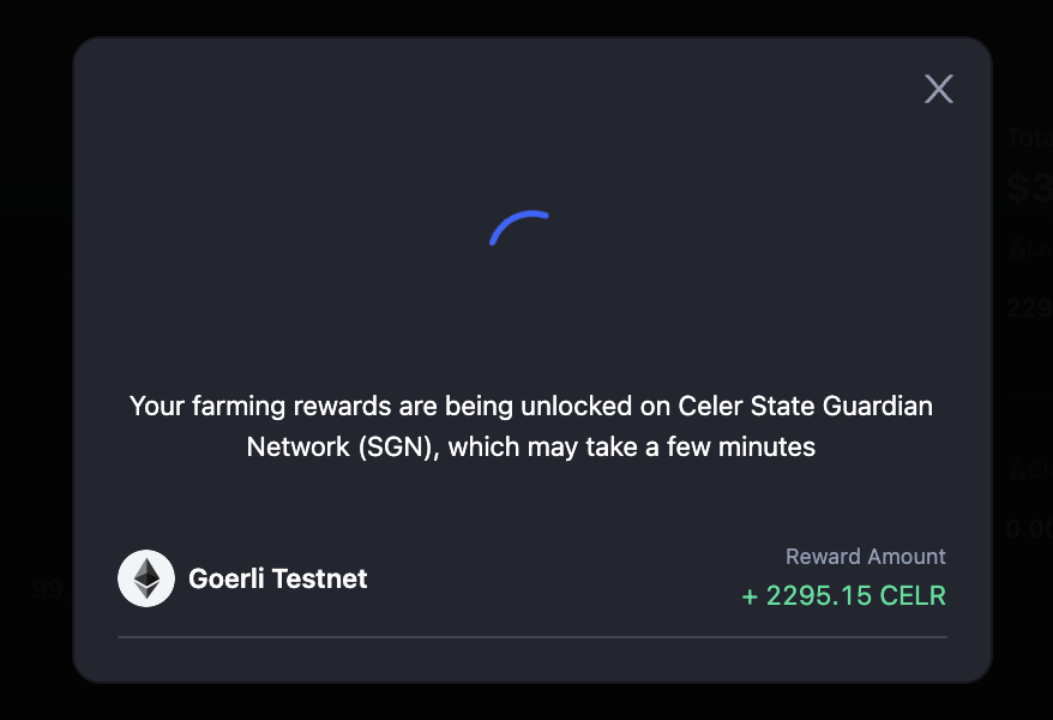
3. Once rewards are unlocked, you will see a popup update asking if you want to claim farming rewards at the moment. Clicking “Claim Farming Rewards” will prompt you to confirm the transaction on MetaMask.

4. When the transaction is complete, a “Success” popup update will show up on cBridge.

5. Alternatively, you can choose to wait for your farming rewards to accumulate and claim them later. You can always go to “Your Total Farming Rewards” to check your reward positions and claim rewards.
6. All your farming rewards are accumulated in one single pool, so there is no need to switch between multiple chains to claim your rewards.
Remove Liquidity
You can easily remove your liquidity from the SGN at any time.
- To remove your liquidity, click the “-” button on the Liquidity interface.

2. Choose the percentage of liquidity you wish to remove with the slider bar, or enter a specific percentage.
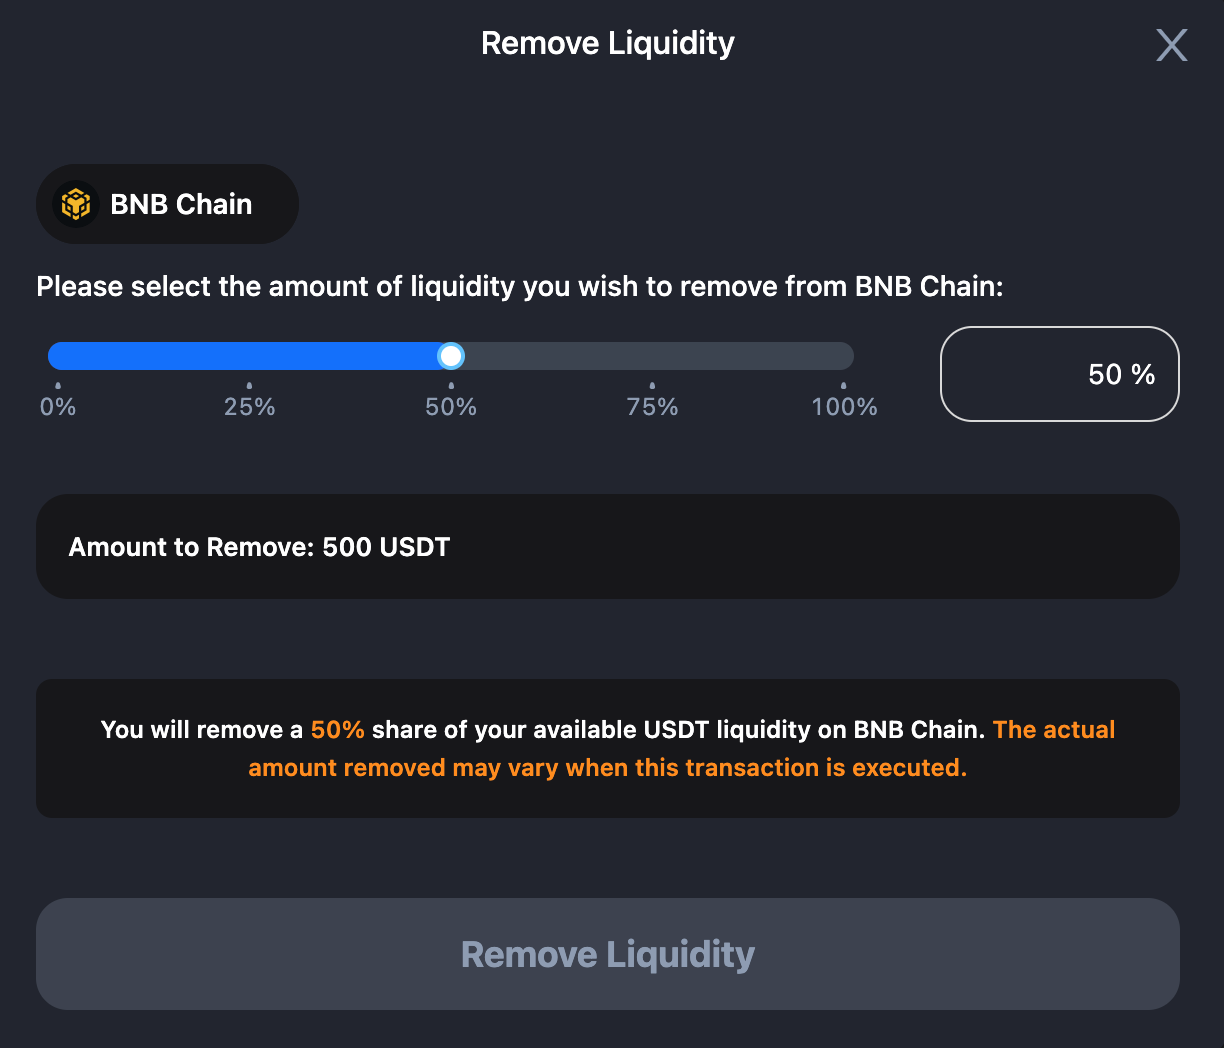
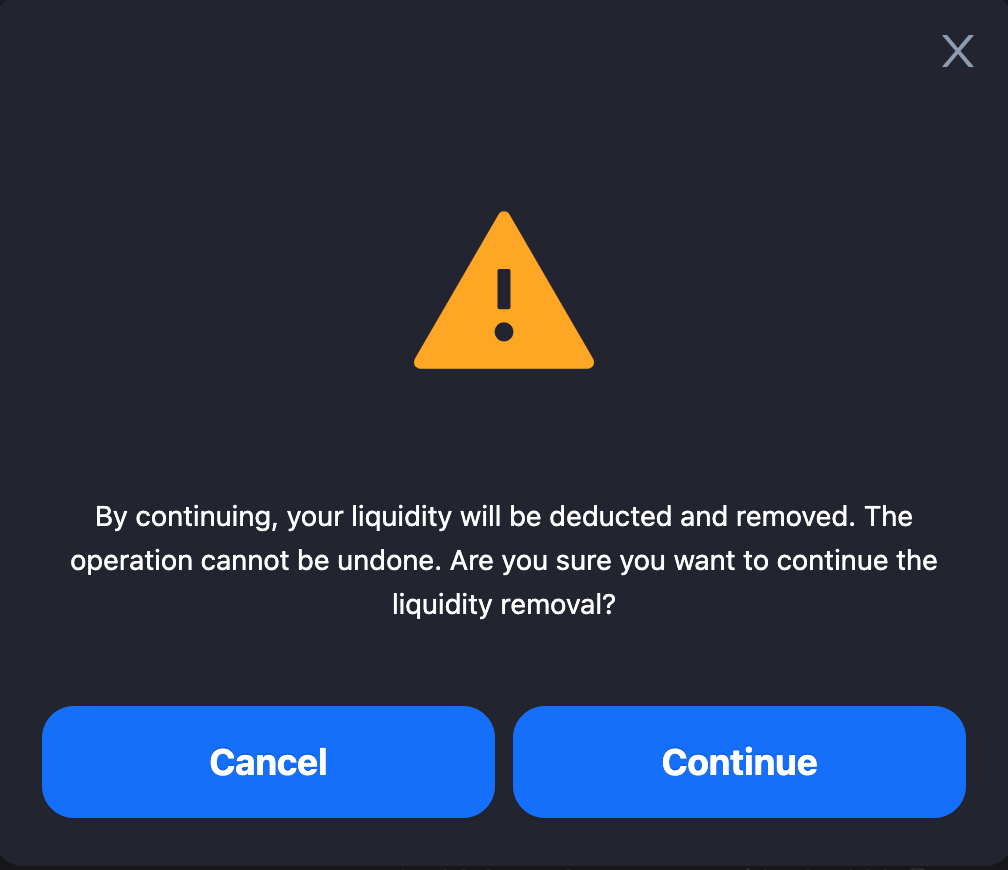
3. Review your liquidity removal details, such as “Amount to Remove”. Click “Remove Liquidity”, and you will be prompted with a confirmation popup. Click “Continue”.
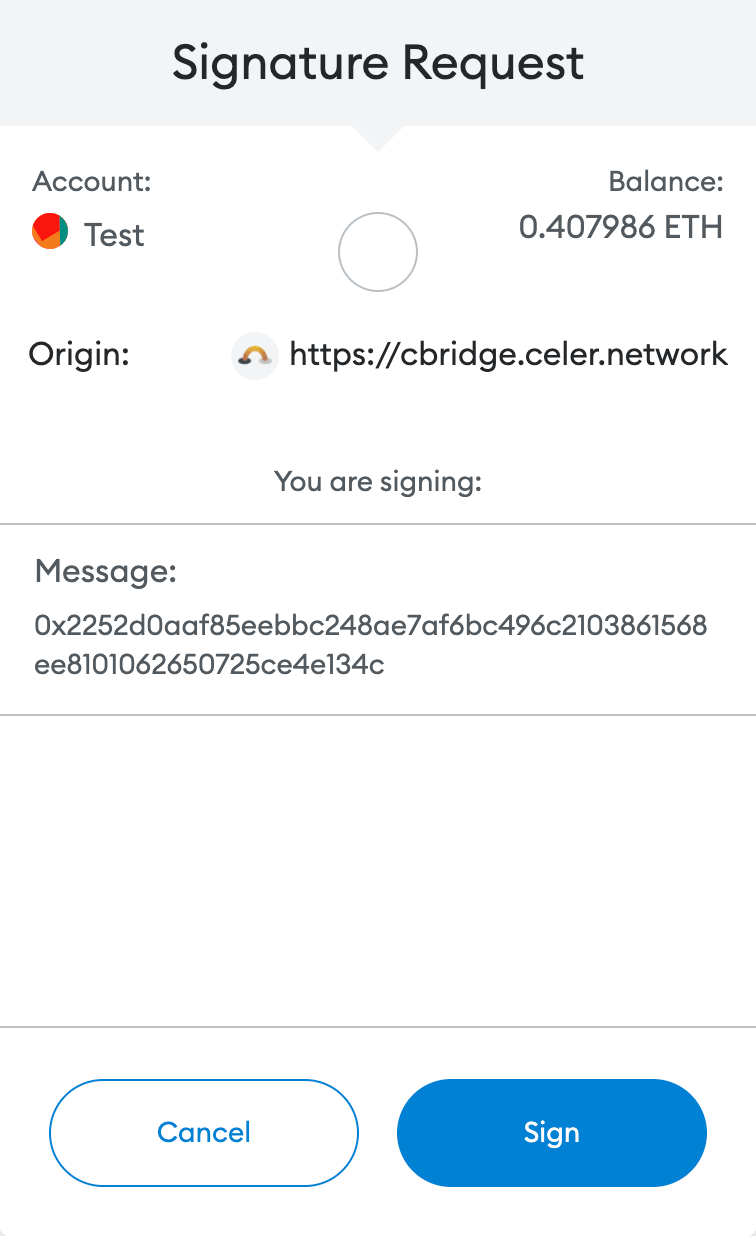
4. You will be prompted to sign the transaction on MetaMask. Click “Sign”.
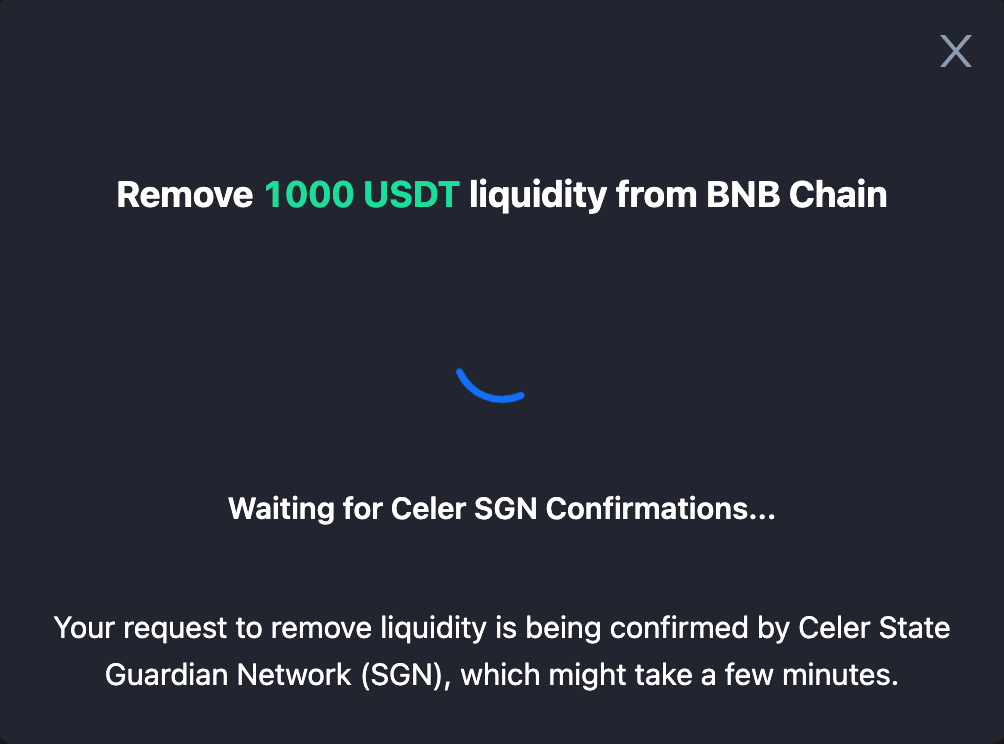
5. You will then receive a popup update on cBridge, showing you the status of the removal.
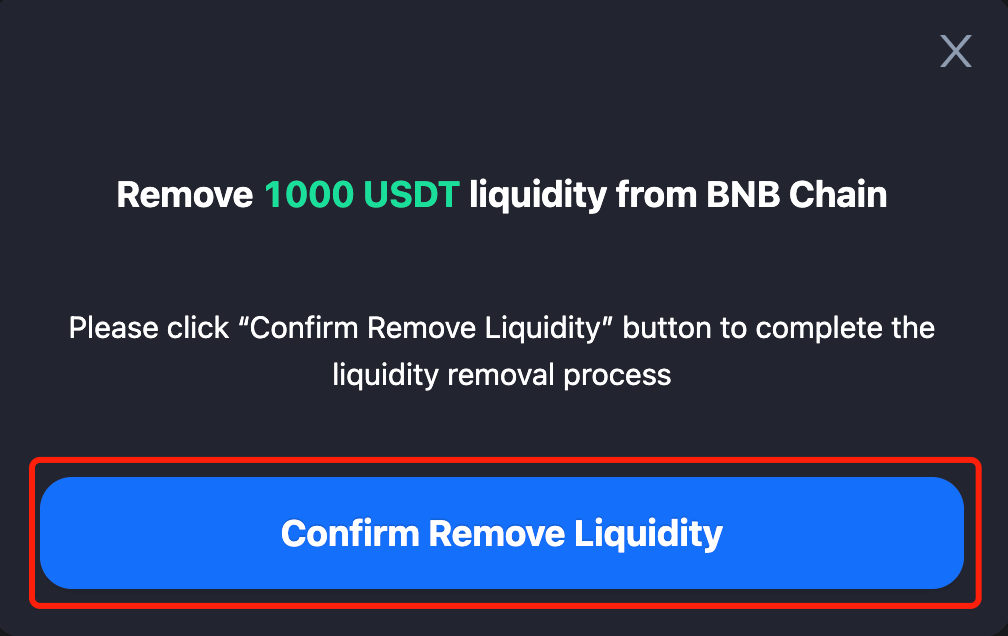
6. Once the removal is confirmed by the Celer SGN, you will be prompted to confirm the removal. Click “Confirm Remove Liquidity”.
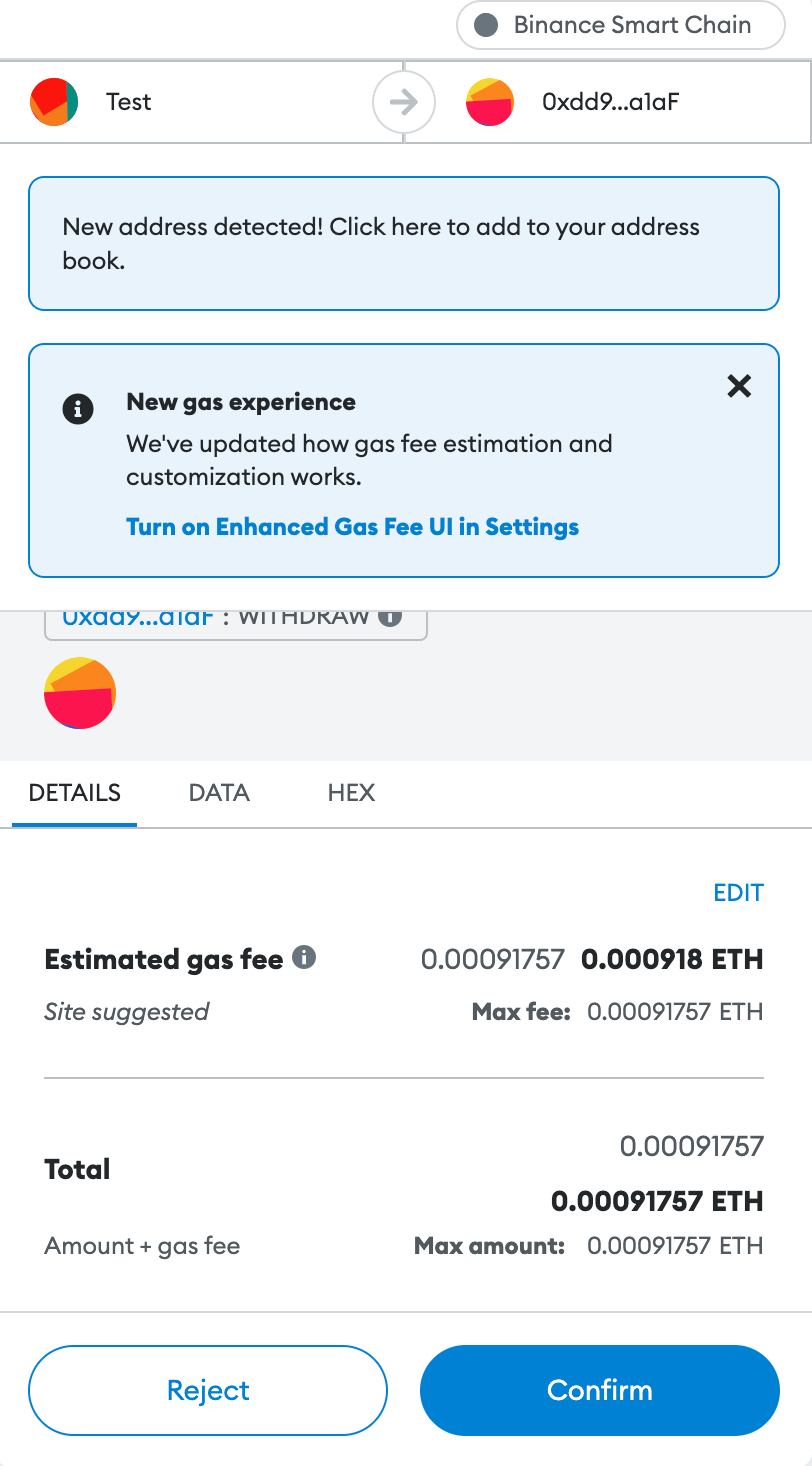
7. You will be prompted to confirm the transaction on MetaMask. Click “Confirm”.
8. You will receive a “Success” popup on cBridge.
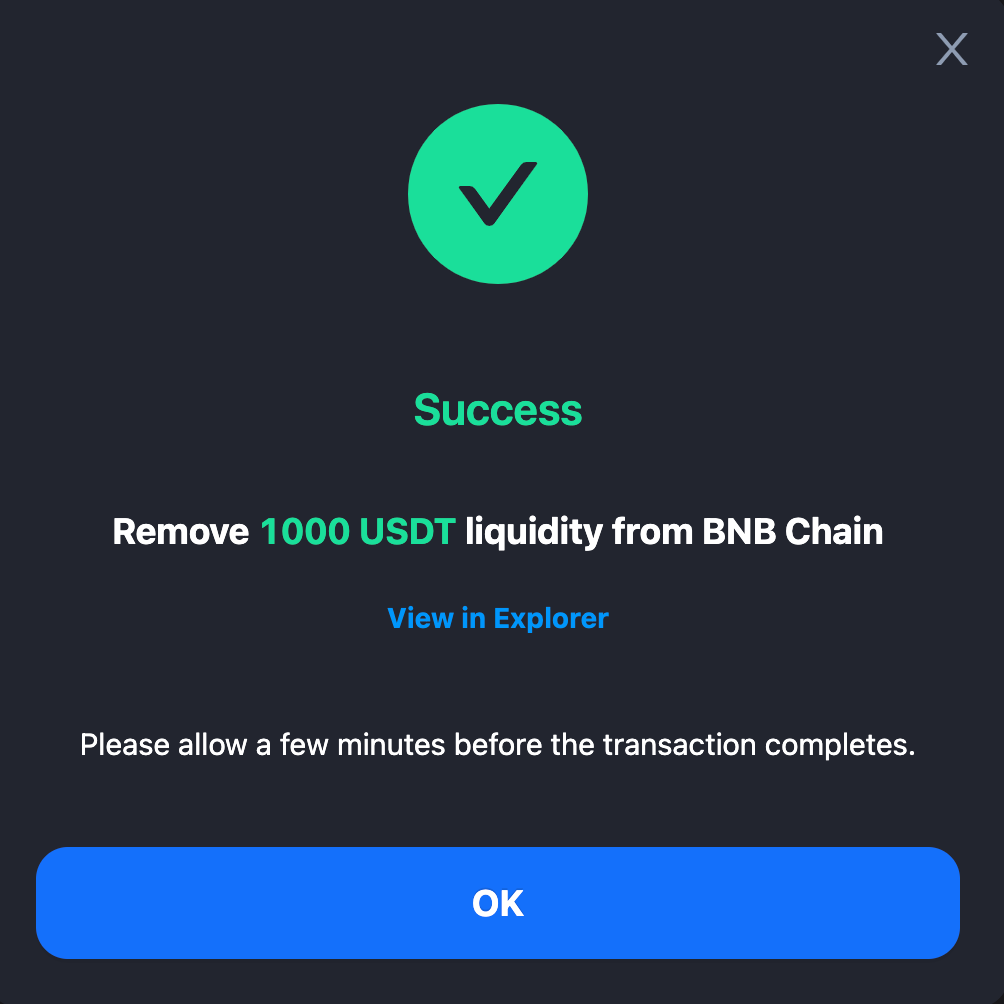
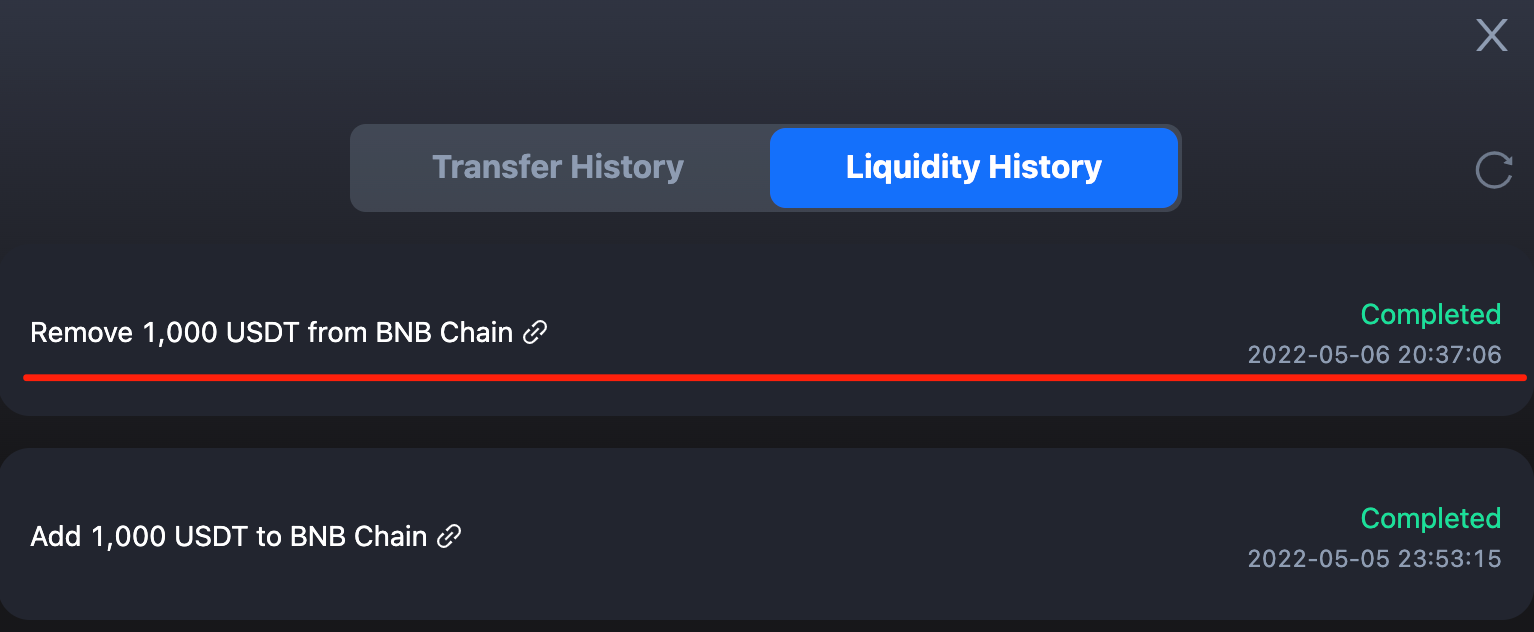
9. Note that it may take a few minutes for the transaction to complete. You can go to “History” -> “Liquidity History” to check the status of the transaction.