Cross-chain Transfer
In this tutorial, we will guide you through the process for making a cross-chain transfer.
Connect Your Wallet
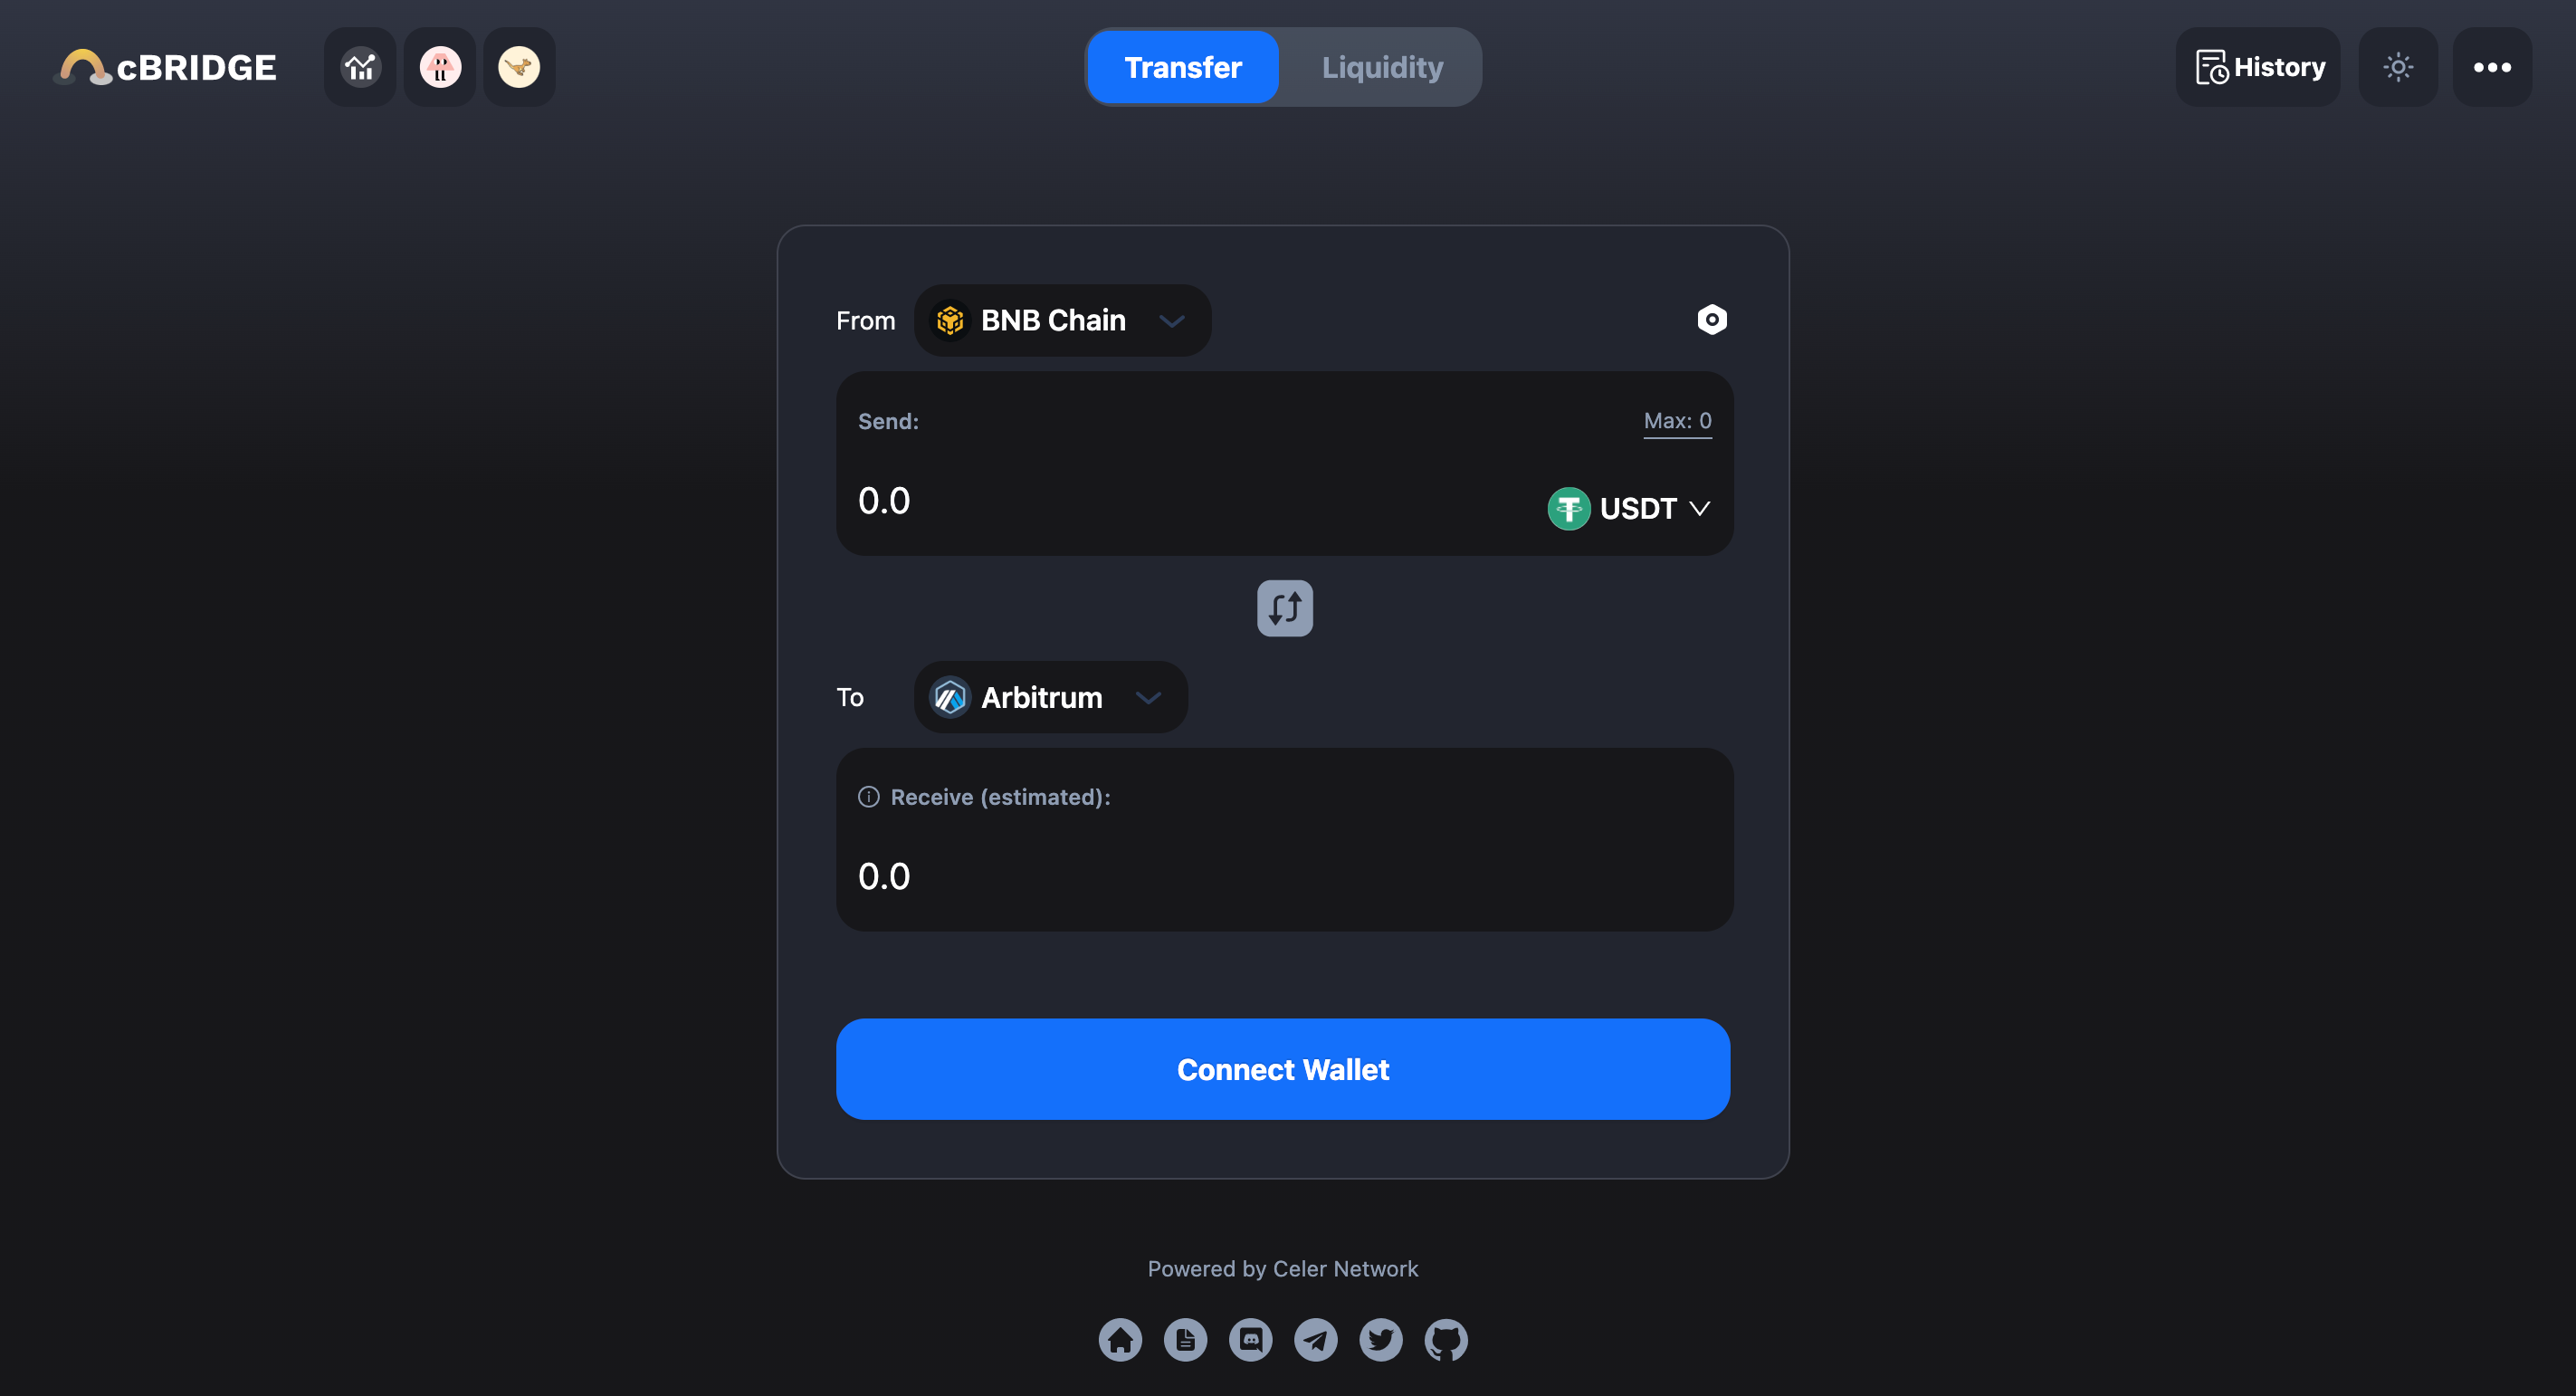
Before you explore the different features offered by cBridge, you will need to connect your wallet.
Click “Connect Wallet”, and you will be prompted to select a wallet. (This tutorial will take MetaMask as an example).
.png)
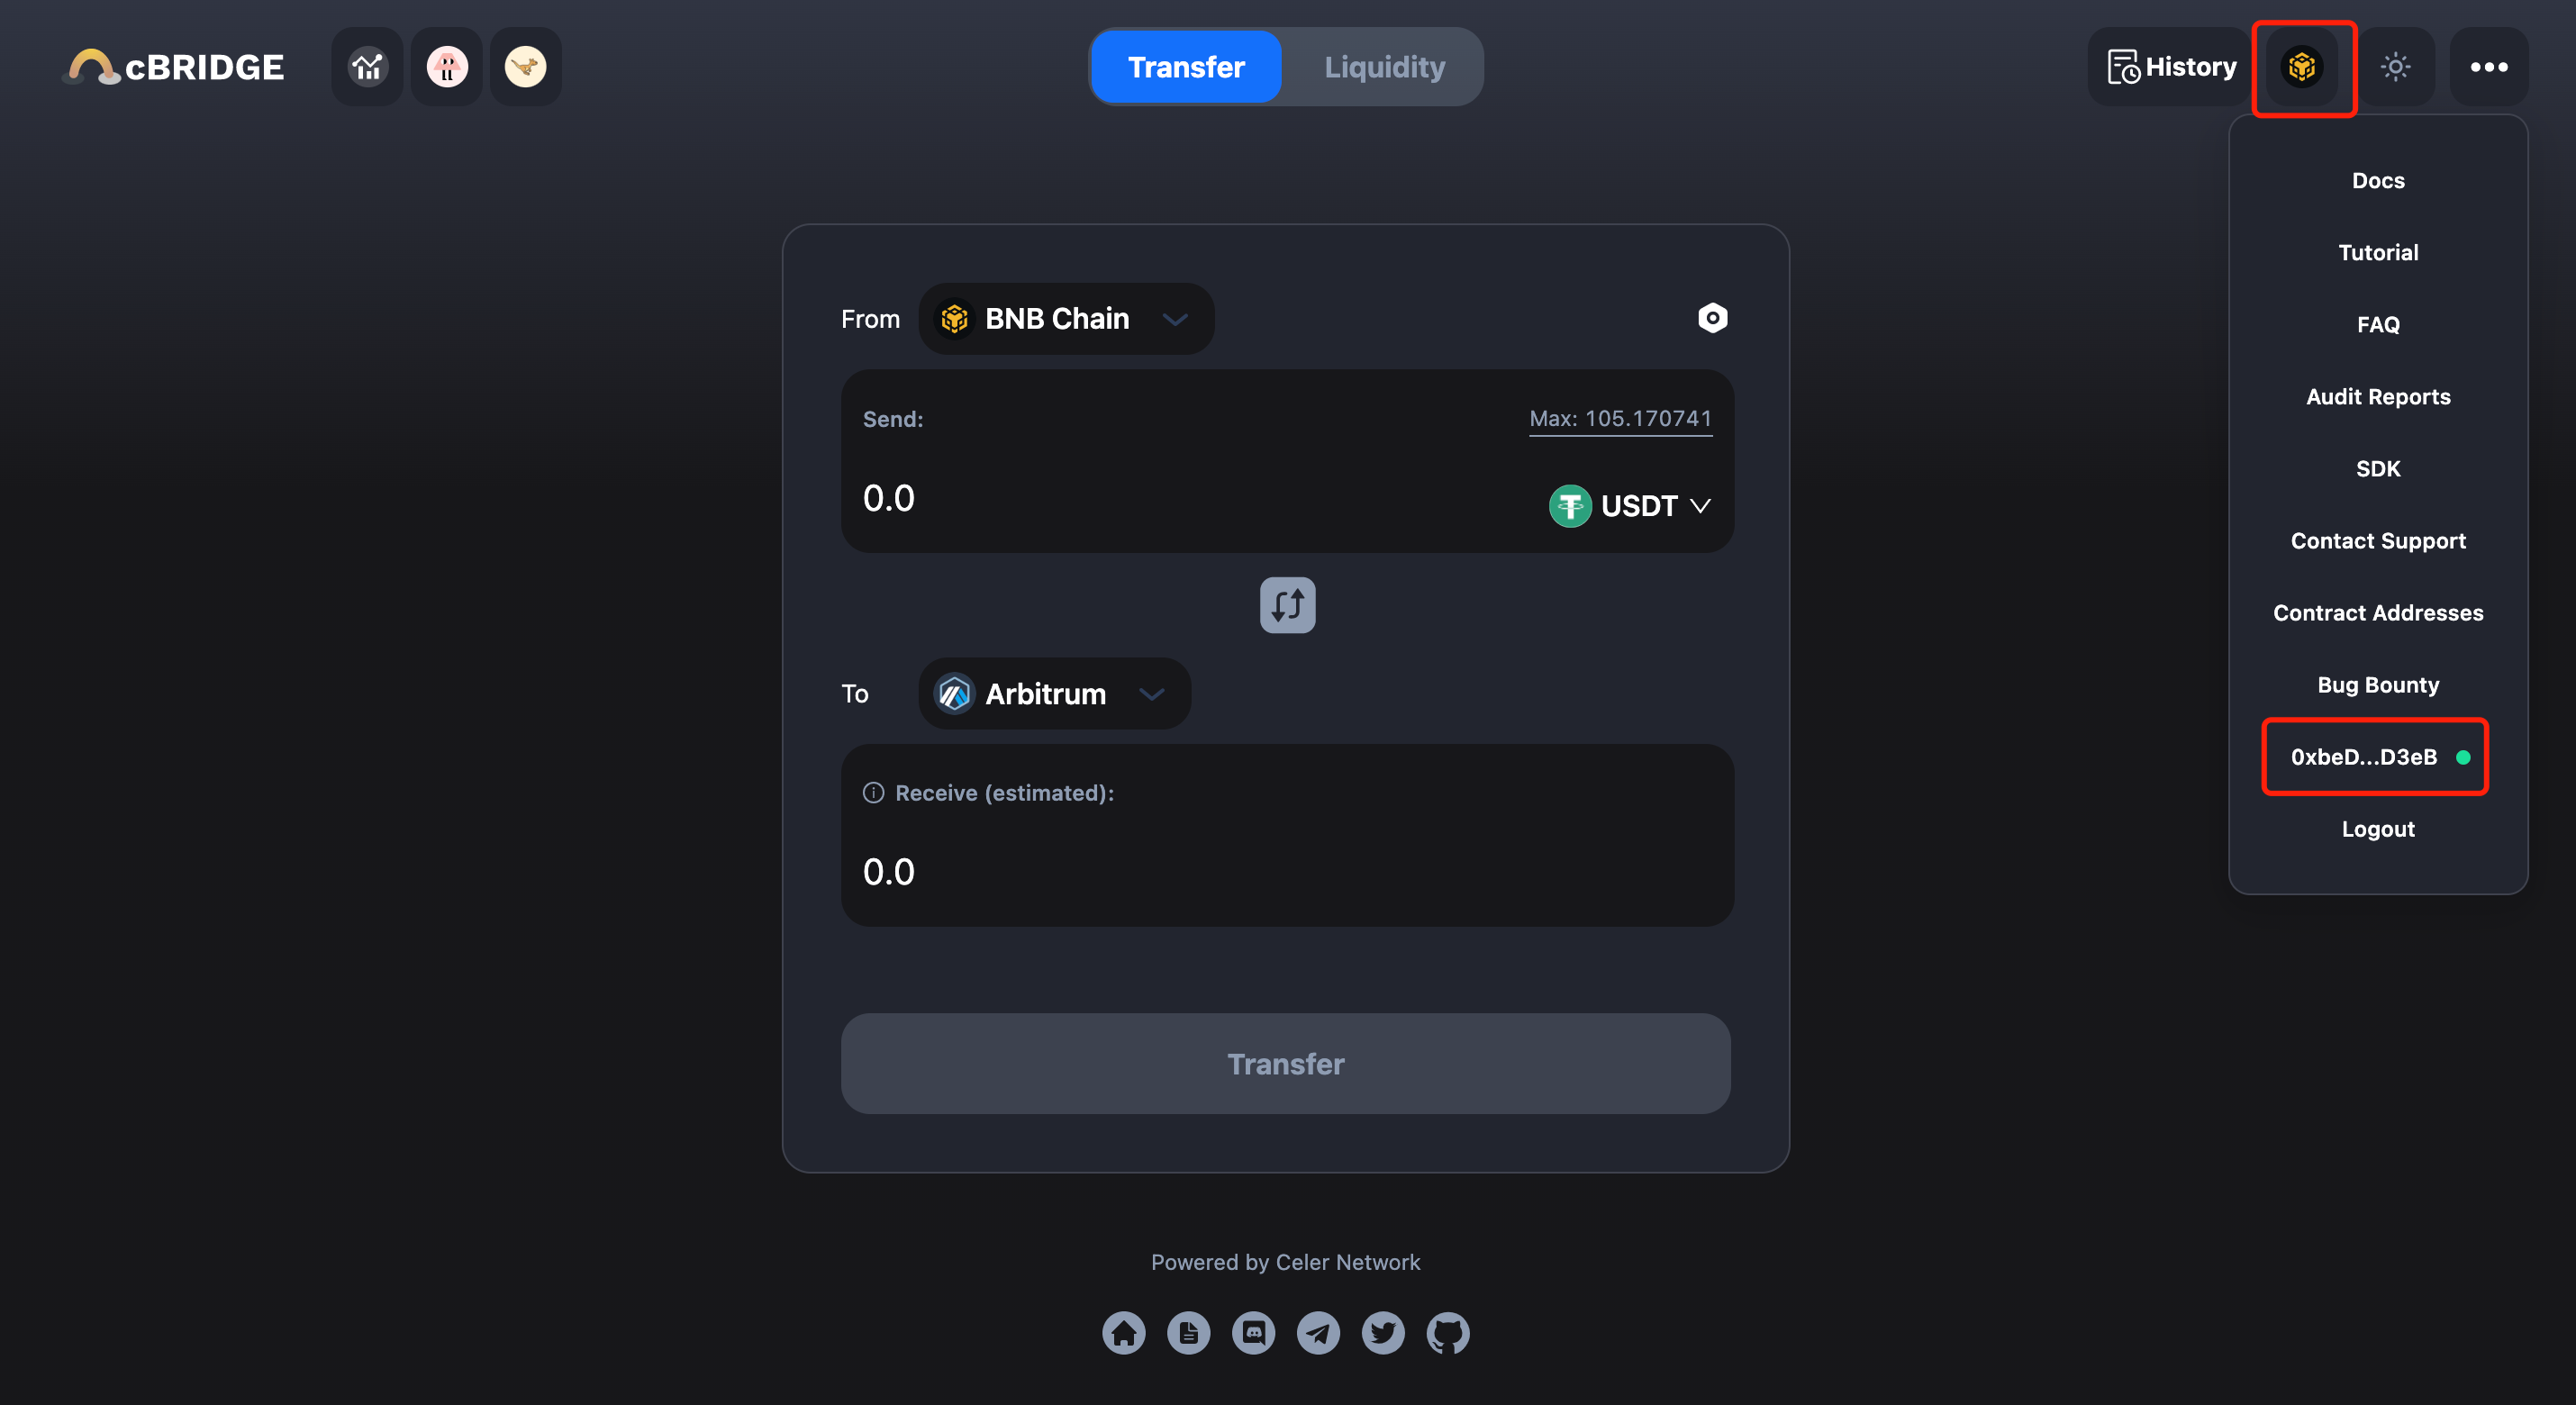
Select MetaMask, and you should now see your wallet address and your current chain in the top right corner of the page.
 (1).png)
Transfer Tokens Across Chains
Let’s say, you want to transfer 100 USDT from the BNB Chain to Arbitrum. The steps are made simple in cBridge:
- Select “BNB Chain” in the dropbox next to “From” and “Arbitrum” in the dropbox next to “To”.
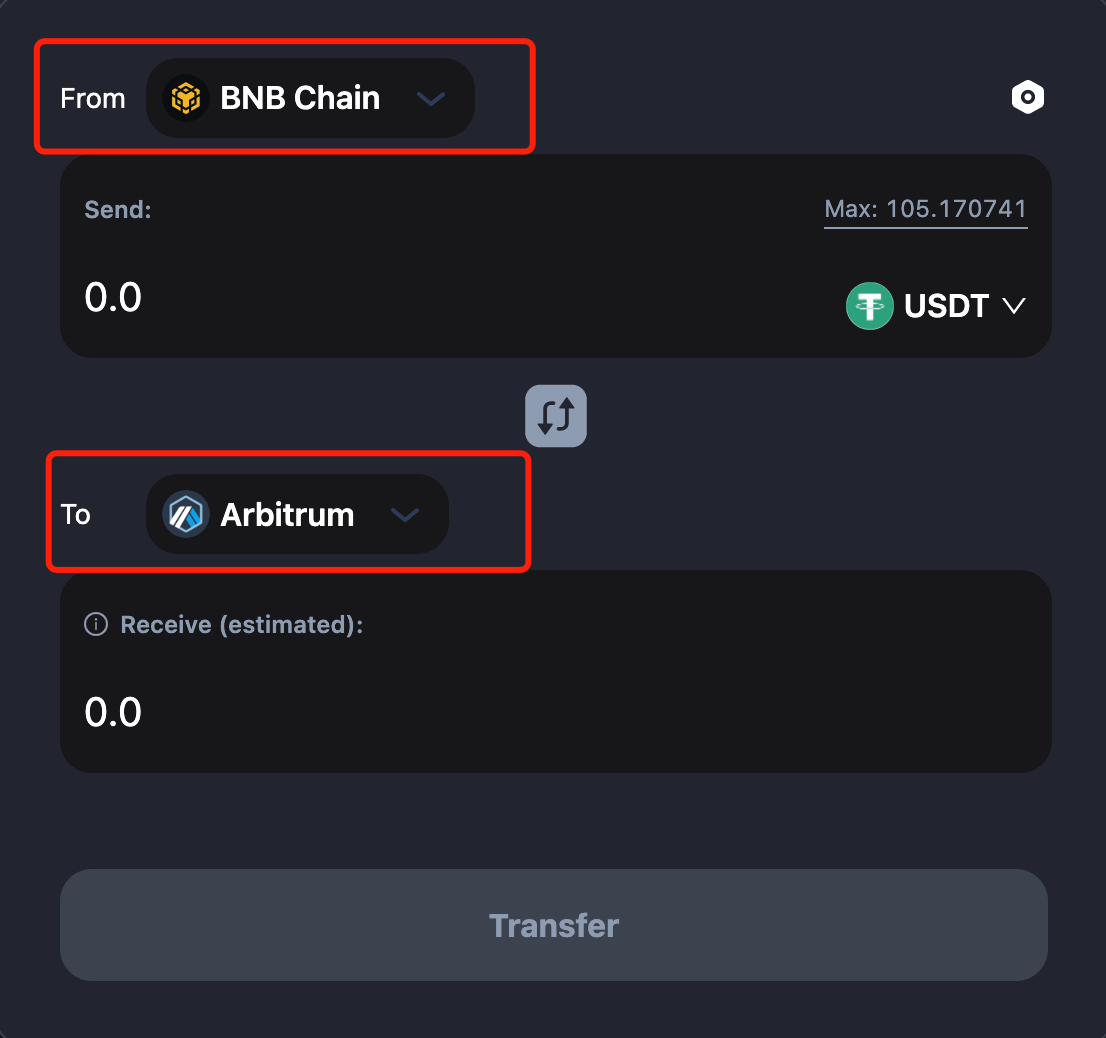
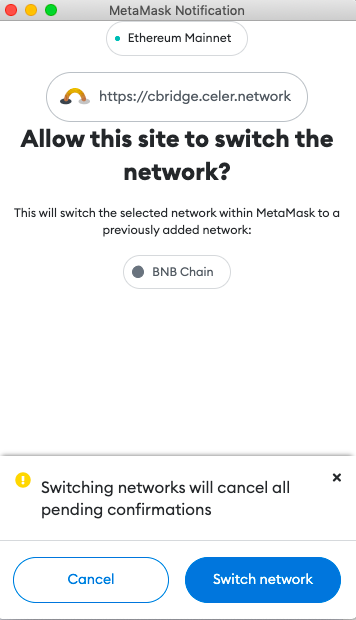
You will be prompted to switch your wallet to BNB Chain if it’s not already connected.
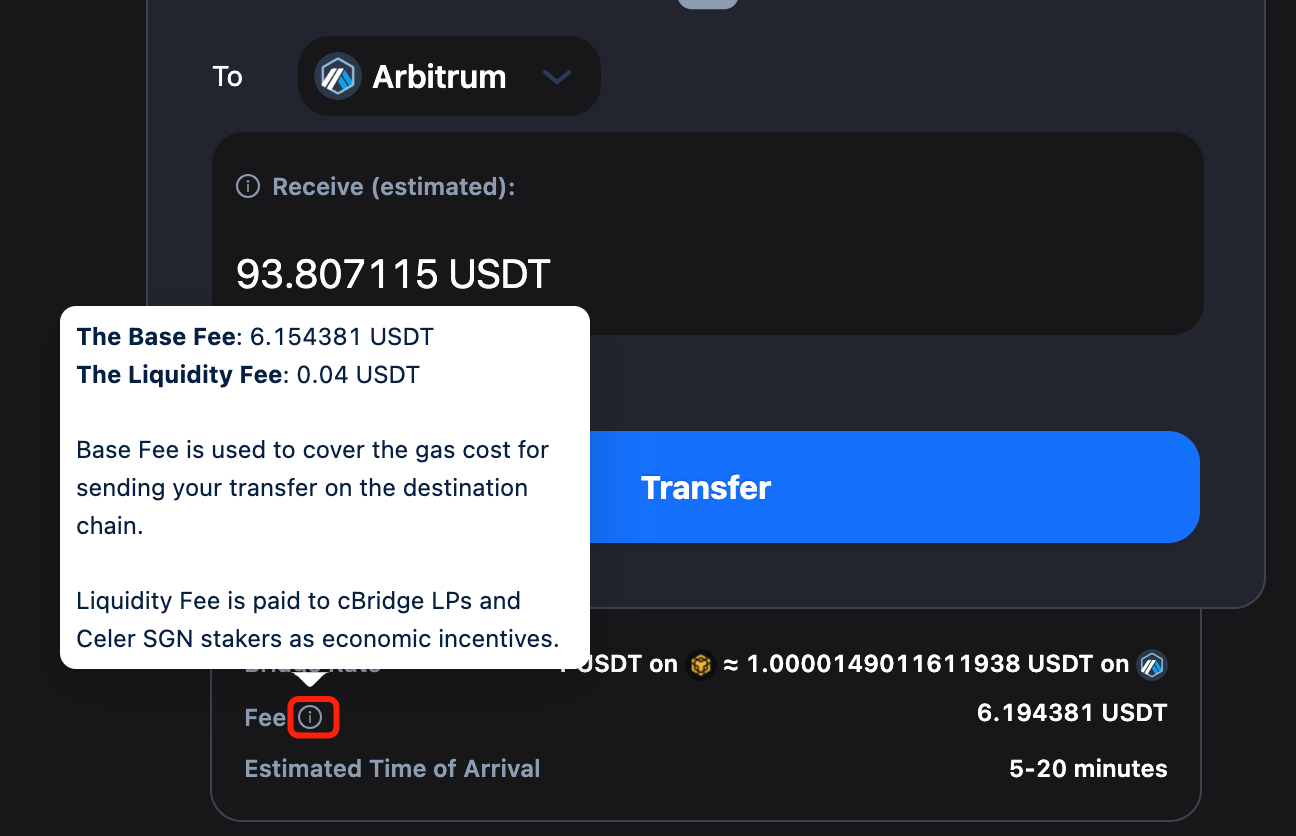
2. Enter the amount you want to send under “Send”. You should see the estimated amount you will receive under “Receive(estimated)”.

3. You can adjust the Slippage Tolerance of the transfer. Your transfer may fail with a very low Slippage Tolerance. It’s usually between 0.1% and 0.5%.
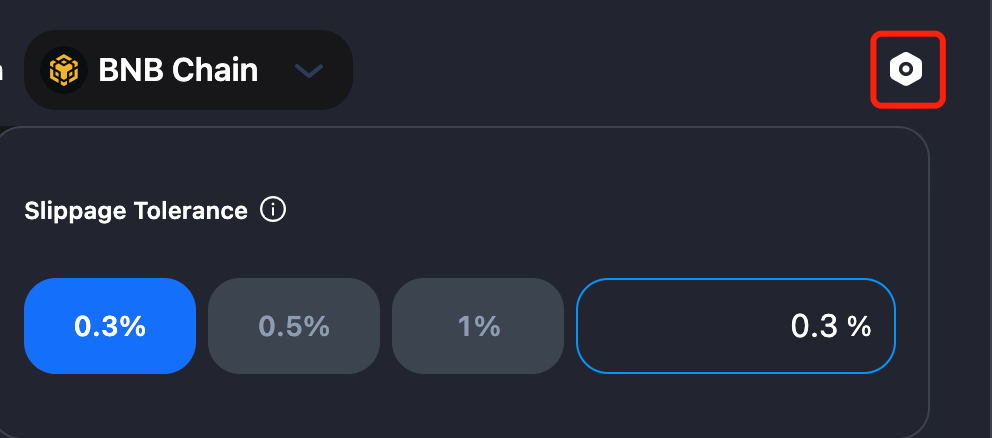
Note that there will be a difference between the amount you send and the amount you receive, which is determined by the Bridge Rate and fees. For the exact definition of each item in the transaction, check the tooltips next to each of the terms.
4. Review your transfer details and click “Transfer” You will receive a popup for USDT approval.
![]()
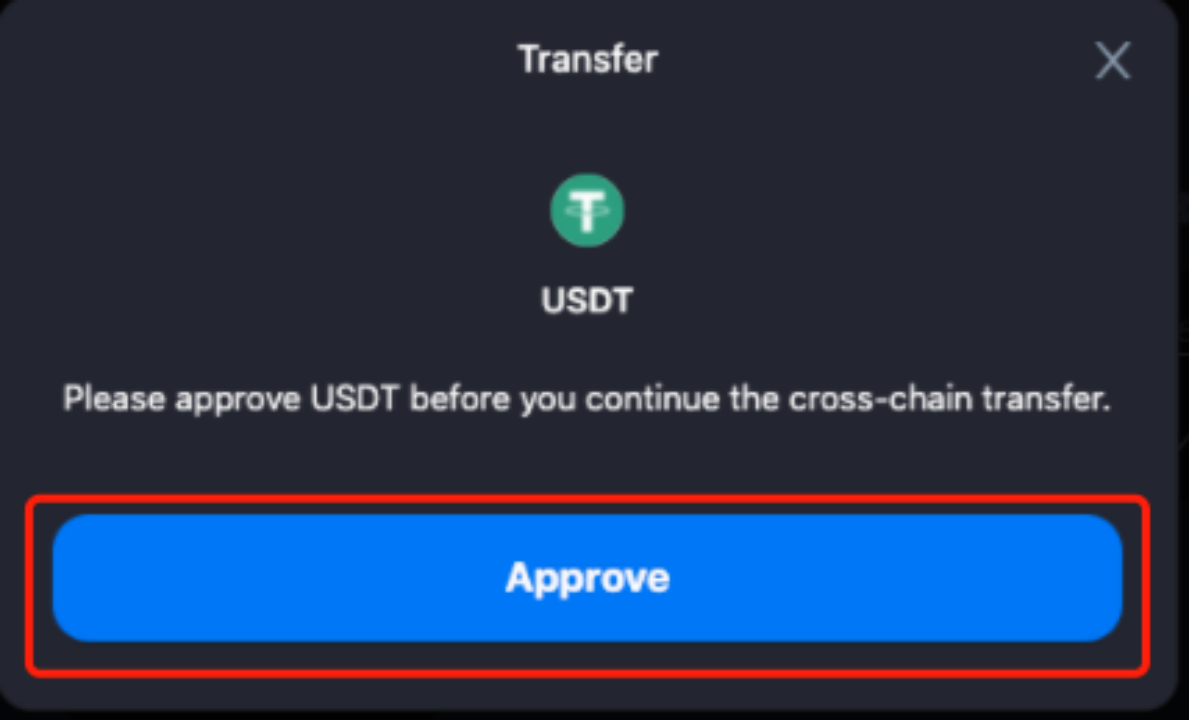
Click “Approve” and you will be prompted with a USDT spend confirmation on MetaMask. Click “Confirm”, and your “Approve” transaction will be finalized in a few minutes.
.png)
5. After USDT is approved, you will be prompted on cBridge to confirm the cross-chain transfer. Review the transfer details and click “Confirm Transfer”. You will be prompted to confirm the transaction on MetaMask. Click “Confirm”.
![]()
![]()
6. After confirming on MetaMask, you will receive a Transfer Submitted popup.
![]()
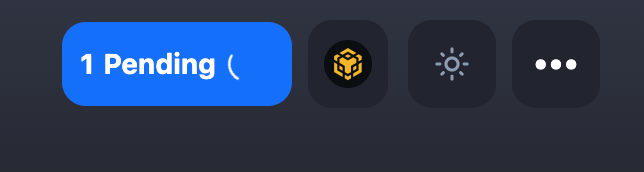
You can also check the transaction status in “Pending” in the top right corner of the page.
7. It takes some extra time for the funds to arrive at your wallet on the destination chain. On MetaMask, you can switch to the destination chain, which in our case is Arbitrum, to check if you have received the funds.
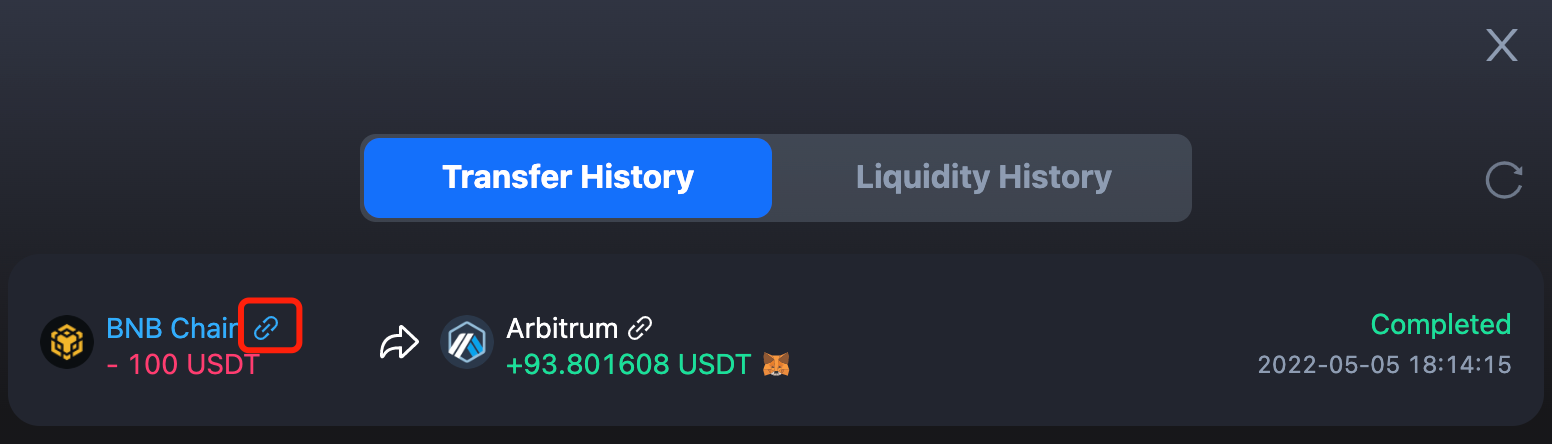
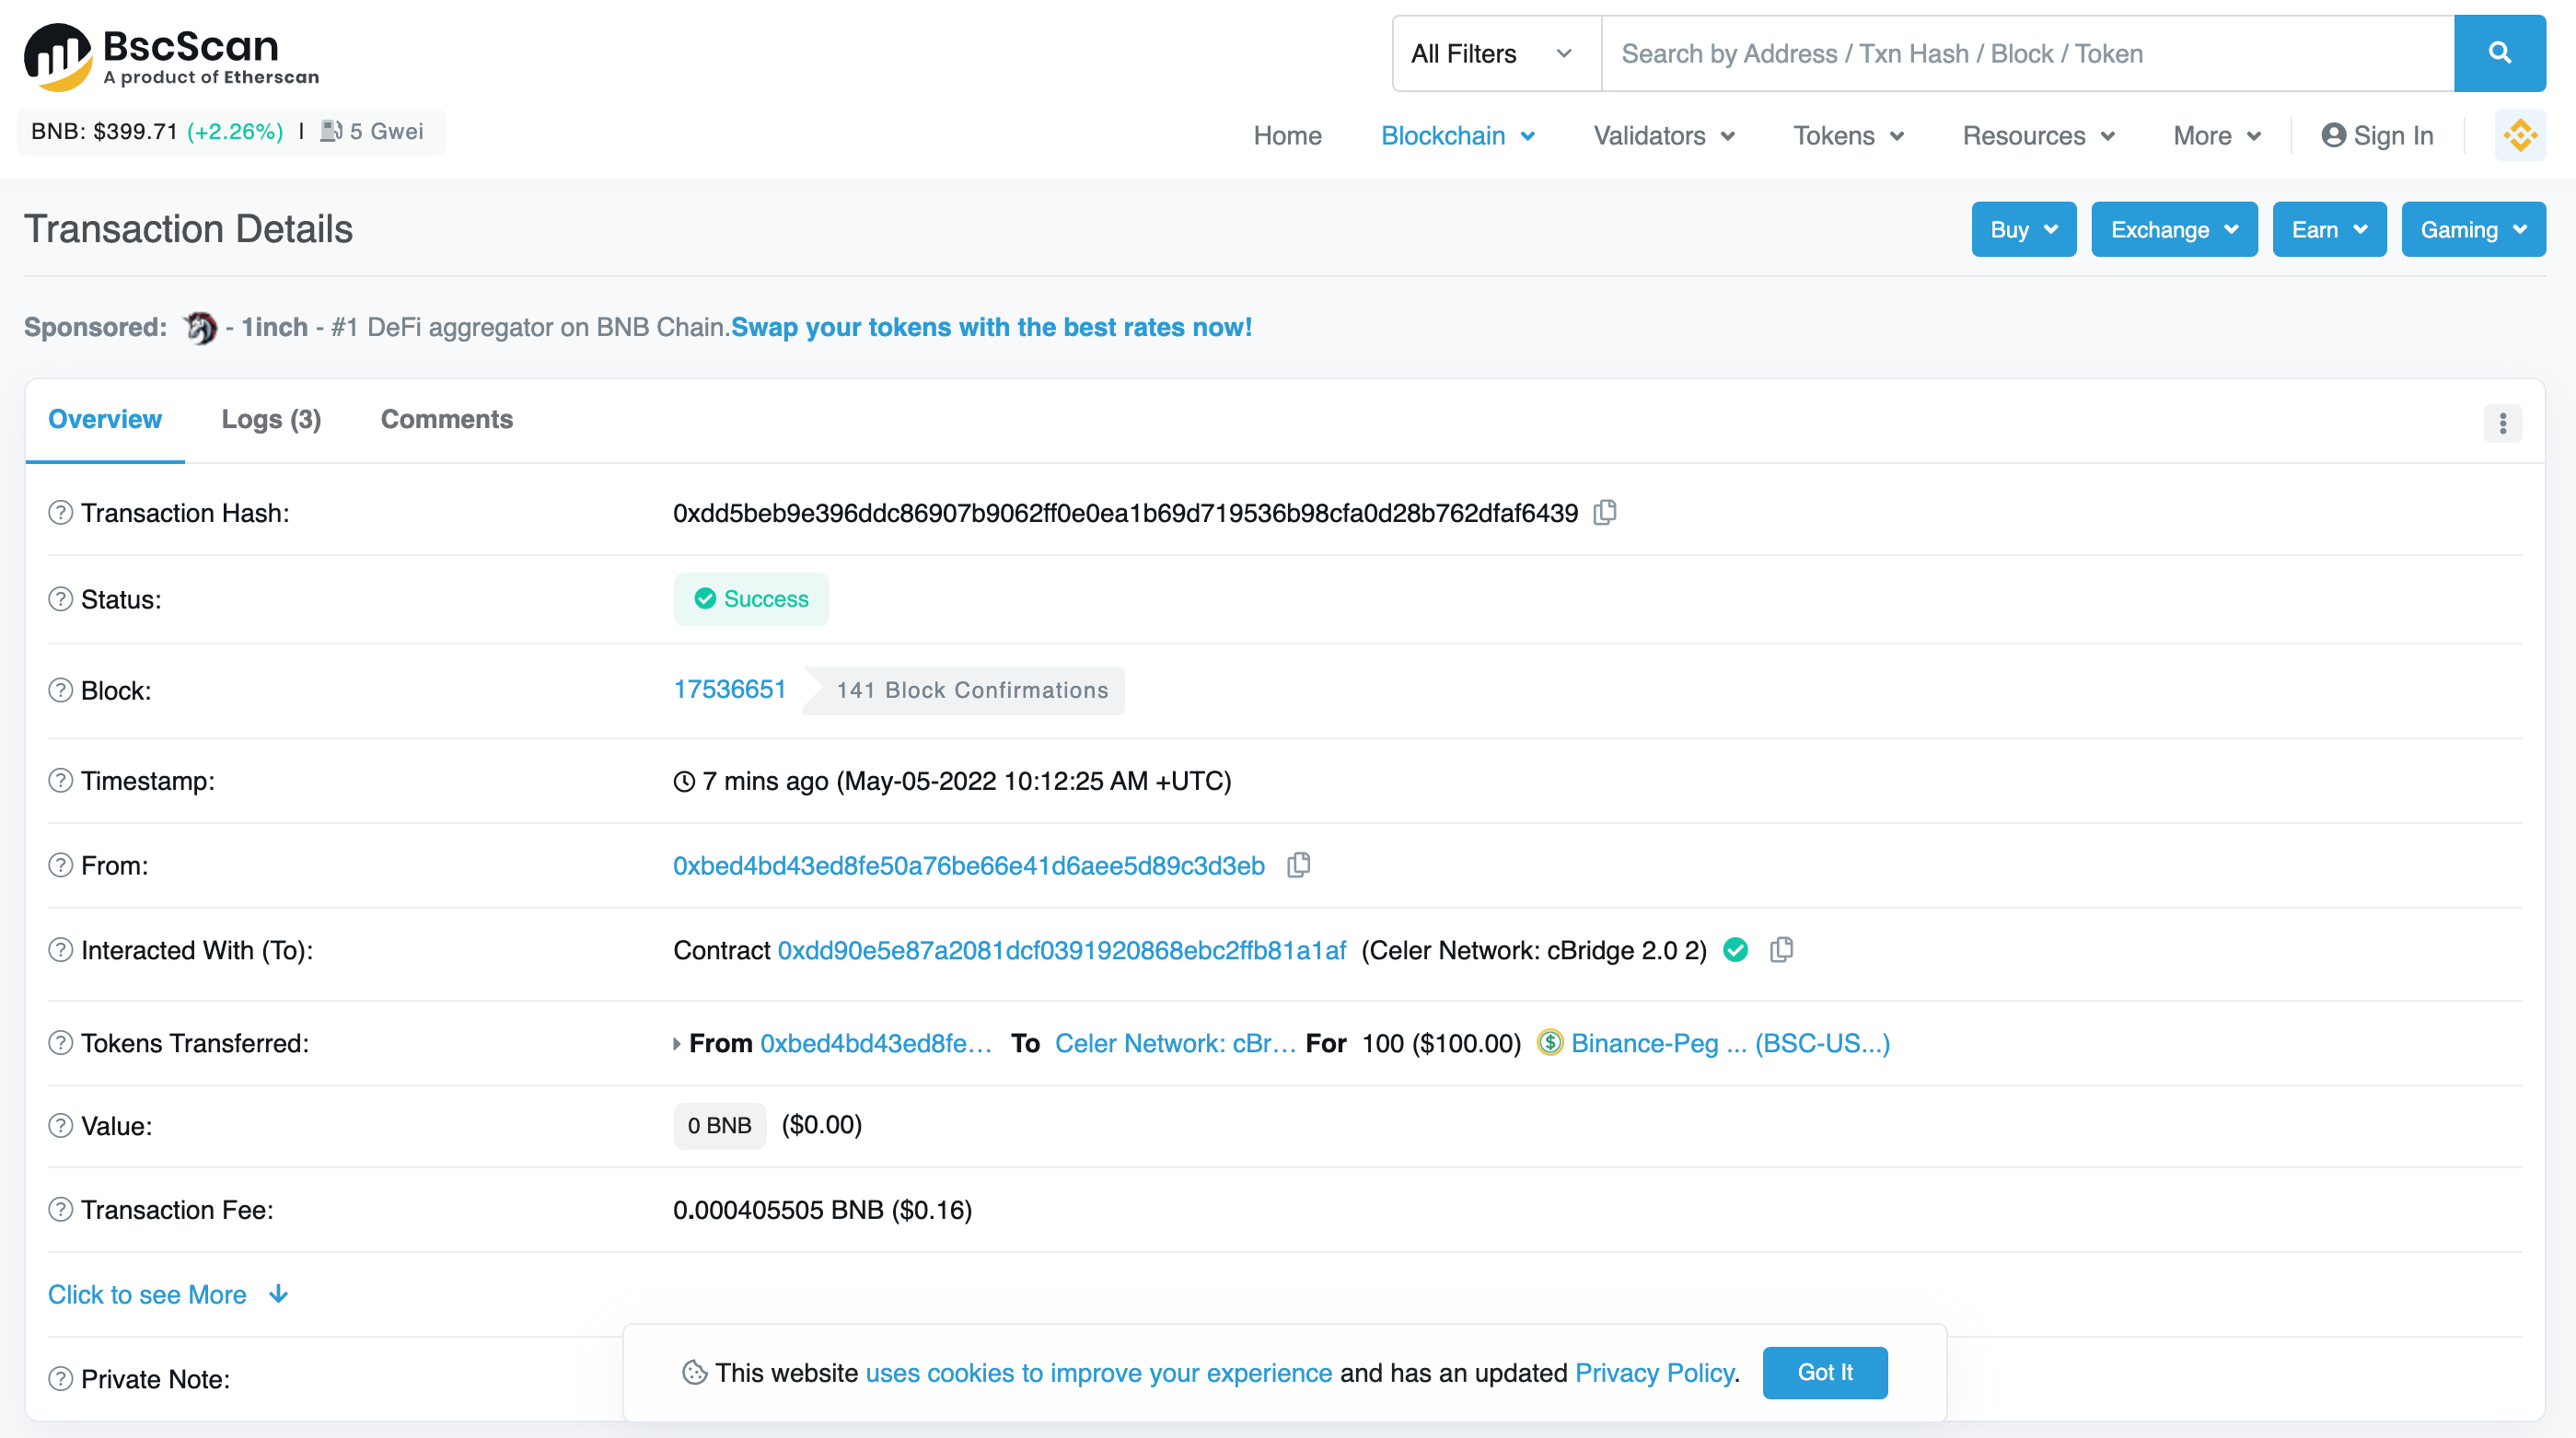
Alternatively, you can also view your transaction status via the BNB Smart Chain Explorer, which can be accessed via a link in your transaction history.
8. In cases where your transfer fails due to insufficient liquidity on the destination chain or an unfavorable slippage tolerance, you will receive a popup explaining the reason for the failure. You can click “Request Refund” in the transfer history.
And voila! Congratulations on completing your first cross-chain transfer on cBridge !